Create an app with Nuxt 3 — Course part 1
https://www.youtube.com/watch?v=hj3NNlTqIJg&list=PL8HkCX2C5h0XT3xWYn71TlsAAo0kizmVc&index=1
유튜브 강의를 참고하고 있습니다.
Nuxt는 Vue.js를 사용하여 안전하고 성능이 뛰어난 풀 스택 웹 애플리케이션과 웹 사이트를 만들 수 있는 직관적이고 확장 가능성을 가진 무료 오픈 소스 프레임워크이다.
- 서버 측 렌더링(빠른 페이지 로드 시간, 캐싱, SEO)
- 파일 기반 라우팅
- Auto-imports 컴포넌트
- 타입스크립트 지원
1. Nuxt 3 설치하기
필수 조건
Node.js v18.0.0 이상
터미널에서 아래 명령어를 실행 후, 설치가 완료되면 해당 폴더로 이동한다.
npx nuxi init <project-name>

// 가장 최신 버전을 설치하고 싶으면
npx nuxi@latest init <project-name>
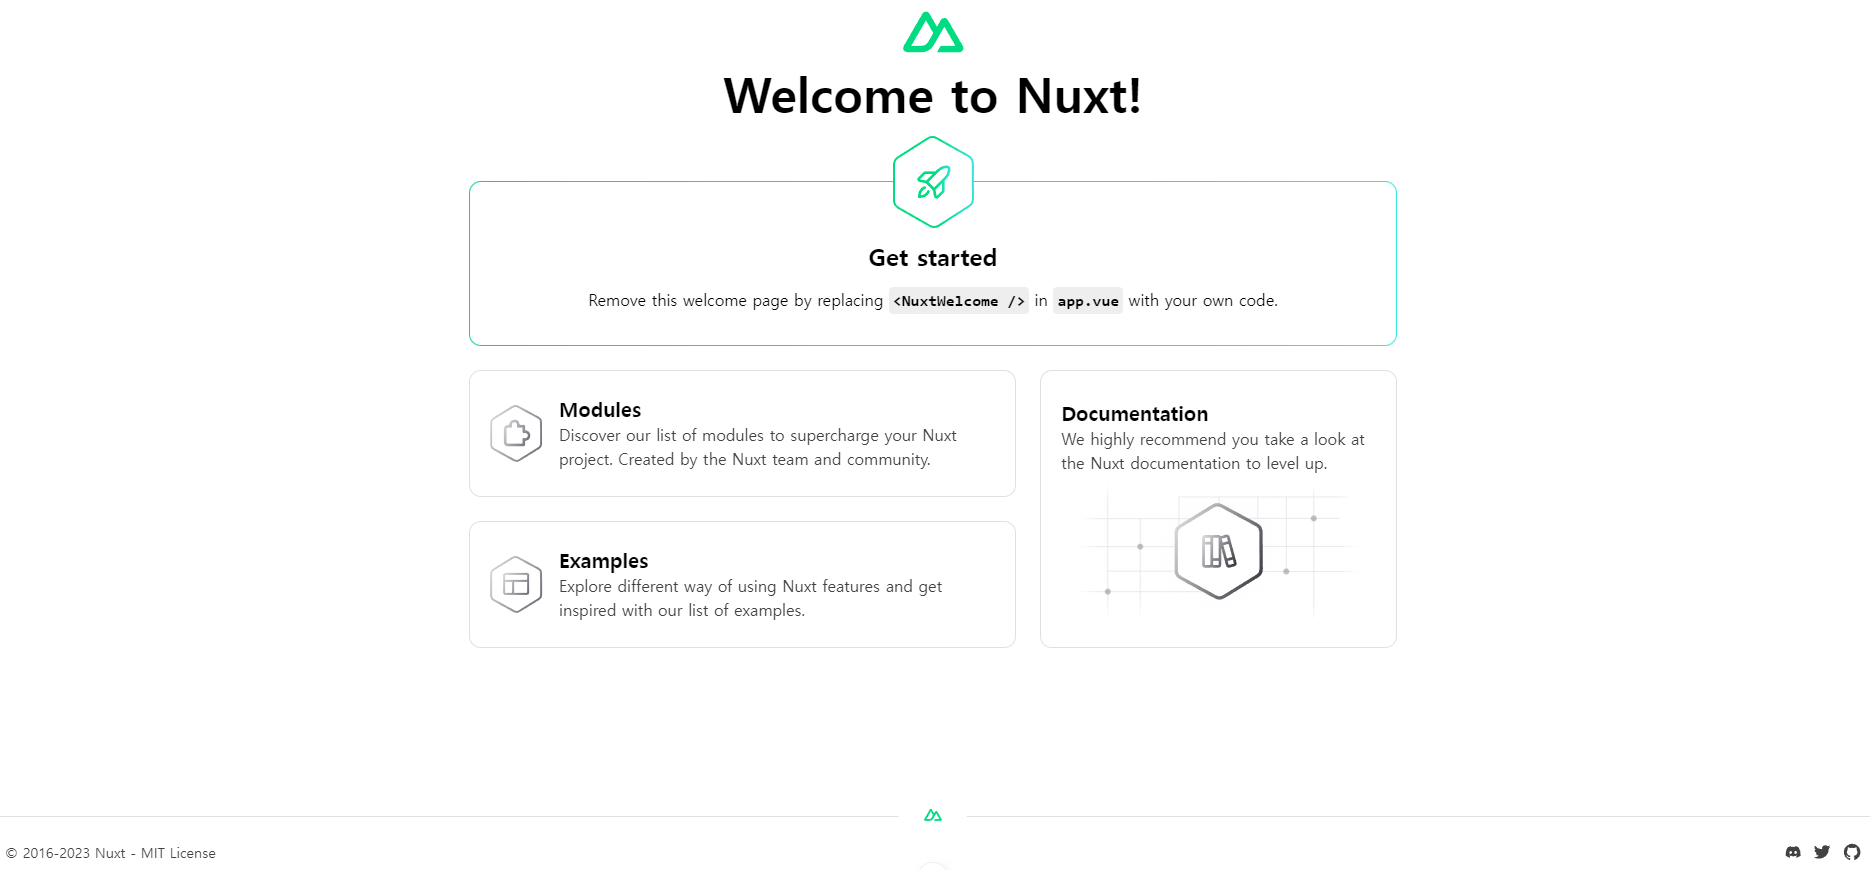
2. 로컬호스트 연결 확인하기
터미널에서 yarn dev 명령어를 실행하고, 아래 사진과 같은 화면이 나온다면 로컬호스트 연결에 성공한 것이다.
3. app.vue 수정하기
- app.vue
app.vue 파일은 로컬호스트에서 보이는 메인 화면이다.
<NuxtWelcome> 컴포넌트를 삭제하고, 다른 태그를 작성하면 화면이 수정된 것을 볼 수 있다.
<template>
  <NuxtWelcome></NuxtWelcome>
</template>

<script setup lang="ts">
</script>
4. 테일윈드 CSS 설치하기
https://tailwindcss.com/docs/guides/nuxtjs
Nuxt 테일윈드 CSS 설치에 대한 자세한 설명은 위의 공식문서를 참고한다.
터미널에서 아래 명령어를 실행한다.
npm install -D tailwindcss postcss autoprefixer
npx tailwindcss init
- assets/scss/main.scss
@tailwind base;
@tailwind components;
@tailwind utilities;
- nuxt.config.ts
// https://nuxt.com/docs/api/configuration/nuxt-config
export default defineNuxtConfig({
  devtools: { enabled: true },
  css: ['@/assets/scss/main.scss'],
  postcss: {
    plugins: {
      tailwindcss: {},
      autoprefixer: {}
    }
  }
})
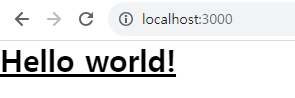
- app.vue
<template>
  <h1 class="text-3xl font-bold underline">
    Hello world!
  </h1>
</template>
결과 화면
'Vue, Nuxt > Nuxt 3 기초' 카테고리의 다른 글
| [Nuxt3] #6 Nuxt 3 Composables (VueUse 설치 및 예제) (0) | 2023.11.13 |
|---|---|
| [Nuxt3] #5 Nuxt 3 이미지 업로드하기 (assets, public) (0) | 2023.11.09 |
| [Nuxt3] #4 Nuxt 3 레이아웃 만들기 (페이지별 레이아웃 다르게 하기, slot) (0) | 2023.11.09 |
| [Nuxt3] #3 Nuxt 3 컴포넌트 만들기 (auto-imports) (1) | 2023.11.09 |
| [Nuxt3] #2 Nuxt 3 페이지 만들기 및 페이지 이동 (라우팅) (0) | 2023.11.09 |