Images, assets & public folder with Nuxt 3 — Course part 5

https://www.youtube.com/watch?v=tWQ2LWplmDc&list=PL8HkCX2C5h0XT3xWYn71TlsAAo0kizmVc&index=5


유튜브 강의를 참고하고 있습니다.


1. assets 폴더에 이미지 올리기

assets 폴더에 images 폴더를 만들고 이미지를 올린다.
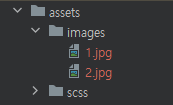


  • pages/index.vue

~ 또는 @를 이용해서 루트 경로를 설정하면 된다.

<template>
  <img src="~/assets/images/1.jpg" alt="이미지1">
  <img src="@/assets/images/2.jpg" alt="이미지2">
</template>
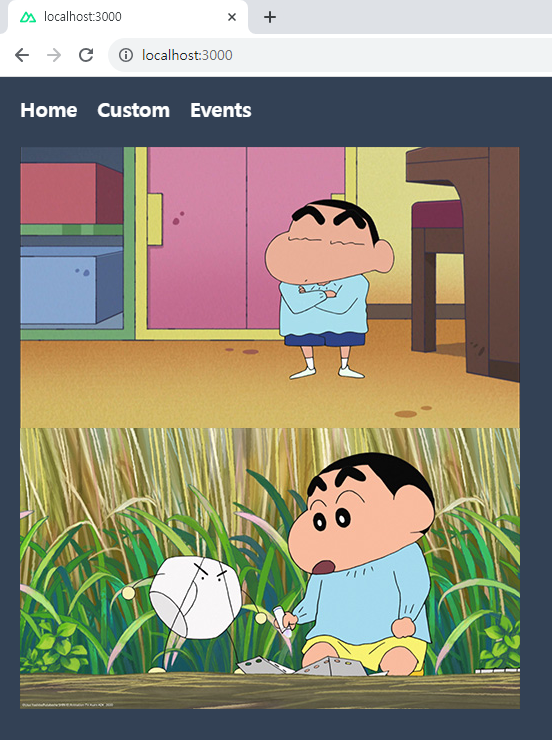


assets 폴더에 넣은 이미지는 빌드돼서 이미지가 업로드되기 때문에 직접적인 접근이 불가능하다.


2. public 폴더에 이미지 올리기

public 폴더에 images 폴더를 만들고 이미지를 올린다.


public 폴더에 넣은 이미지는 서버 루트에서 그대로 제공되기 때문에 직접적인 접근이 가능하다.

단, public 폴더는 모두가 접근할 수 있기 때문에 안전 이슈가 발생할 수 있어 주의해서 사용해야 한다.


Layouts with Nuxt 3 — Course part 4

https://www.youtube.com/watch?v=GQjU4FfM3II&list=PL8HkCX2C5h0XT3xWYn71TlsAAo0kizmVc&index=4


유튜브 강의를 참고하고 있습니다.


1. DefaultLayout 만들기

  1. layouts 폴더를 만들고, 그 안에 default.vue 파일을 만든다.
  2. <slot>을 사용해 pages/~.vue 파일의 내용을 <slot> 부분으로 대체한다.


  • layouts/default.vue

layouts 폴더 안에 defalut.vue 파일을 만들면 별도의 import 없이 자동으로 DefalutLayout이 된다.

<template>
  <div class="h-screen p-5 bg-slate-700 text-base text-white">
    <Header/>

    <slot/>
  </div>
</template>


  • pages/index.vue
<template>
  <h1>index page</h1>
</template>


  • app.vue
<template>
  <NuxtLayout>
    <NuxtPage/>
  </NuxtLayout>
</template>


2. CustomLayout 만들기

  1. DefaultLayout 말고, 다른 레이아웃을 만들고 싶을 때 layout 폴더 안에 custom.vue 파일을 만든다.
  2. CustomLayout은 기본 레이아웃이 아니기 때문에 <script> 태그 안에 정의를 해야 한다.


  • layouts/custom.vue
<template>
  <div class="h-screen p-5 bg-slate-500 text-base text-white">
    <h1 class="text-lg font-bold">Custom layout</h1>

    <slot/>
  </div>
</template>


  • pages/custom.vue
<template>
  <h1>Custom page</h1>
</template>

<script setup lang="ts">
definePageMeta({
  layout: "custom"
})
</script>


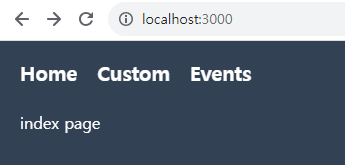
결과 화면


Components with Nuxt 3 — Course part 3

https://www.youtube.com/watch?v=o4SkcTupZBo&list=PL8HkCX2C5h0XT3xWYn71TlsAAo0kizmVc&index=3


유튜브 강의를 참고하고 있습니다.


1. components 폴더 만들기

components 폴더를 만들고, 그 안에 vue 파일을 만든다.

컴포넌트로 사용할 vue 파일의 첫 글자 이름은 반드시 대문자로 한다.


  • components/Alert.vue
<template>
  <div class="p-2 bg-slate-500 rounded text-white text-lg font-bold">
    This is an alert component.
  </div>
</template>


  • components/Profile/Header/Avatar.vue
<template>
  <div class="p-2 bg-slate-700 rounded text-white text-lg font-bold">
    This is a Profile/Header/Avatar component.
  </div>
</template>


2. 컴포넌트 import 하기

nuxt3에는 auto-importing 기능이 있어 별도의 import문 없이 바로 컴포넌트를 사용할 수 있다.


파일명이 컴포넌트의 이름이 되고, 뎁스 안에 있는 컴포넌트는 '폴더명 폴더명 ... 파일명' 으로 이름을 지으면 된다.

'components/Profile/Header/Avatar.vue' 의 경우 <ProfileHeaderAvatar>가 컴포넌트의 이름이 된다.


  • pages/index.vue
<template>
  <Alert/>

  <ProfileHeaderAvatar/>
</template>


결과 화면


Pages & Routing with Nuxt 3 — Course part 2

https://www.youtube.com/watch?v=tdgUDuD3fS4&list=PL8HkCX2C5h0XT3xWYn71TlsAAo0kizmVc&index=2


유튜브 강의를 참고하고 있습니다.


1. pages 폴더 만들기

pages 폴더를 만들고, 그 안에 ~.vue 파일을 만들면 http://localhost:3000/ 주소에서 500 에러가 발생한다.

pages 폴더가 만들어지면 app.vue 파일에서 pages/~.vue 파일과 경로를 매칭하지 못하기 때문이다.


2. app.vue 파일 수정하기

  • app.vue
  1. <NuxtLayout>, <NuxtPage> 컴포넌트를 이용해 pages/~.vue 파일들이 <NuxtPage> 태그 대신에 보이도록 한다.
  2. <header> 태그를 추가해서 모든 pages/~.vue 파일에서 <header> 태그가 import 되게 만든다.
  3. <style> 태그를 추가해서 css를 적용한다.
<template>
  <NuxtLayout>
    <div class="wrap">
      <header>
        <ul>
          <li>
            <NuxtLink to="/">Home</NuxtLink>
            <NuxtLink to="/events">Events</NuxtLink>
          </li>
        </ul>
      </header>

      <NuxtPage/>
    </div>
  </NuxtLayout>
</template>

<style lang="scss" scoped>
header {
  ul {
    height: 50px;

    li {
      display: flex;
      justify-content: start;
      align-items: center;
      gap: 20px;

      a {
        font-size: 20px;
        font-weight: 700;
      }
    }
  }
}
</style>


3. vue 파일 만들기

  • pages/index.vue
<template>
  <div>index page</div>
</template>


  • pages/event/index.vue
<template>
  <div>events page</div>
</template>


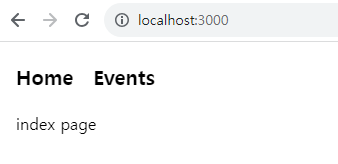
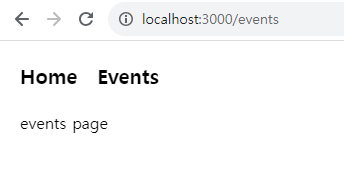
결과 화면

Create an app with Nuxt 3 — Course part 1
https://www.youtube.com/watch?v=hj3NNlTqIJg&list=PL8HkCX2C5h0XT3xWYn71TlsAAo0kizmVc&index=1


유튜브 강의를 참고하고 있습니다.


Nuxt는 Vue.js를 사용하여 안전하고 성능이 뛰어난 풀 스택 웹 애플리케이션과 웹 사이트를 만들 수 있는 직관적이고 확장 가능성을 가진 무료 오픈 소스 프레임워크이다.

  • 서버 측 렌더링(빠른 페이지 로드 시간, 캐싱, SEO)
  • 파일 기반 라우팅
  • Auto-imports 컴포넌트
  • 타입스크립트 지원


1. Nuxt 3 설치하기

필수 조건

Node.js v18.0.0 이상


터미널에서 아래 명령어를 실행 후, 설치가 완료되면 해당 폴더로 이동한다.

npx nuxi init <project-name>

// 가장 최신 버전을 설치하고 싶으면
npx nuxi@latest init <project-name>


2. 로컬호스트 연결 확인하기

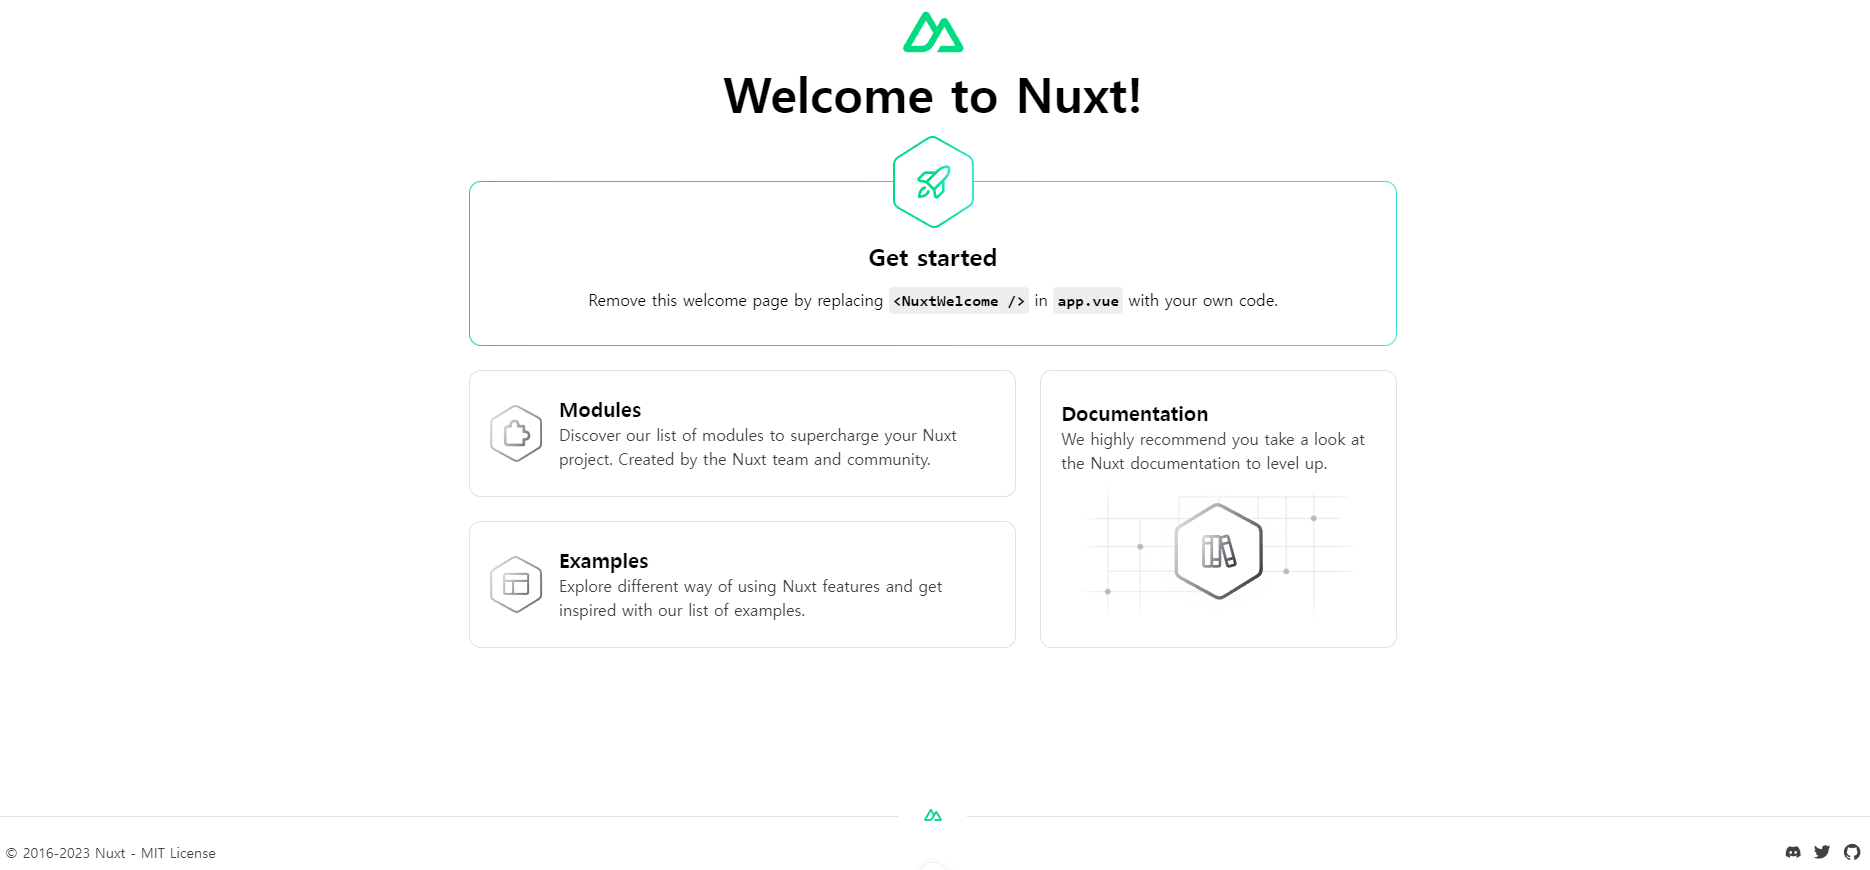
터미널에서 yarn dev 명령어를 실행하고, 아래 사진과 같은 화면이 나온다면 로컬호스트 연결에 성공한 것이다.


3. app.vue 수정하기

  • app.vue

app.vue 파일은 로컬호스트에서 보이는 메인 화면이다.

<NuxtWelcome> 컴포넌트를 삭제하고, 다른 태그를 작성하면 화면이 수정된 것을 볼 수 있다.

<template>
  <NuxtWelcome></NuxtWelcome>
</template>

<script setup lang="ts">
</script>


4. 테일윈드 CSS 설치하기

https://tailwindcss.com/docs/guides/nuxtjs

Nuxt 테일윈드 CSS 설치에 대한 자세한 설명은 위의 공식문서를 참고한다.


터미널에서 아래 명령어를 실행한다.

npm install -D tailwindcss postcss autoprefixer
npx tailwindcss init


  • assets/scss/main.scss
@tailwind base;
@tailwind components;
@tailwind utilities;


  • nuxt.config.ts
// https://nuxt.com/docs/api/configuration/nuxt-config
export default defineNuxtConfig({
  devtools: { enabled: true },
  css: ['@/assets/scss/main.scss'],
  postcss: {
    plugins: {
      tailwindcss: {},
      autoprefixer: {}
    }
  }
})


  • app.vue
<template>
  <h1 class="text-3xl font-bold underline">
    Hello world!
  </h1>
</template>


결과 화면


+ Recent posts